Remote IoT platforms are revolutionizing the way we interact with devices, and SSH on Raspberry Pi is one of the most powerful tools available today. Whether you're a tech enthusiast or a professional developer, mastering SSH on Raspberry Pi can enhance your ability to manage IoT devices remotely. In this comprehensive guide, we'll delve into everything you need to know about setting up a remote IoT platform using SSH on Raspberry Pi and how to download it on Windows 10.
As the Internet of Things (IoT) continues to expand, remote management of devices has become more critical than ever. From monitoring environmental conditions to controlling smart home appliances, IoT platforms powered by SSH on Raspberry Pi offer unparalleled flexibility and control. This guide will walk you through the process step-by-step, ensuring you have the knowledge and tools necessary to succeed.
Whether you're looking to automate tasks, monitor data in real-time, or simply improve the efficiency of your IoT setup, this article is your go-to resource. Let's dive in and explore how you can leverage SSH on Raspberry Pi for remote IoT management.
Read also:Dana Perino Husband Illness Update A Comprehensive Look At His Health Journey
Table of Contents
- Introduction to Remote IoT Platform
- What is SSH?
- Raspberry Pi Overview
- Setting Up SSH on Raspberry Pi
- Downloading Raspberry Pi Image on Windows 10
- Connecting to Raspberry Pi via SSH
- Remote Management of IoT Devices
- Security Best Practices
- Troubleshooting Common Issues
- Conclusion
Introduction to Remote IoT Platform
The concept of a remote IoT platform revolves around the ability to manage, monitor, and control Internet of Things devices from a distance. This is particularly useful for scenarios where physical access to devices is limited or impractical. By leveraging technologies such as SSH (Secure Shell), administrators can securely connect to and manage IoT devices like Raspberry Pi remotely.
Why Choose Raspberry Pi?
Raspberry Pi has emerged as a popular choice for IoT enthusiasts and professionals alike due to its affordability, versatility, and ease of use. Equipped with powerful hardware and a robust community of developers, Raspberry Pi serves as an ideal platform for building and managing IoT projects.
Benefits of Remote IoT Platforms
- Increased efficiency in device management
- Real-time data monitoring and analysis
- Enhanced security through encrypted connections
- Flexibility to manage devices from anywhere in the world
What is SSH?
SSH, or Secure Shell, is a network protocol that allows secure communication between devices over an unsecured network. It provides a secure channel for remote login and other secure network services. SSH is widely used in IoT applications due to its ability to encrypt data and ensure secure communication between devices.
Read also:Dana Bash Dating Life A Closer Look At Her Relationships And Personal Life
Key Features of SSH
- Encryption of data during transmission
- Authentication mechanisms to verify user identity
- Support for various cryptographic algorithms
- Ability to execute commands remotely
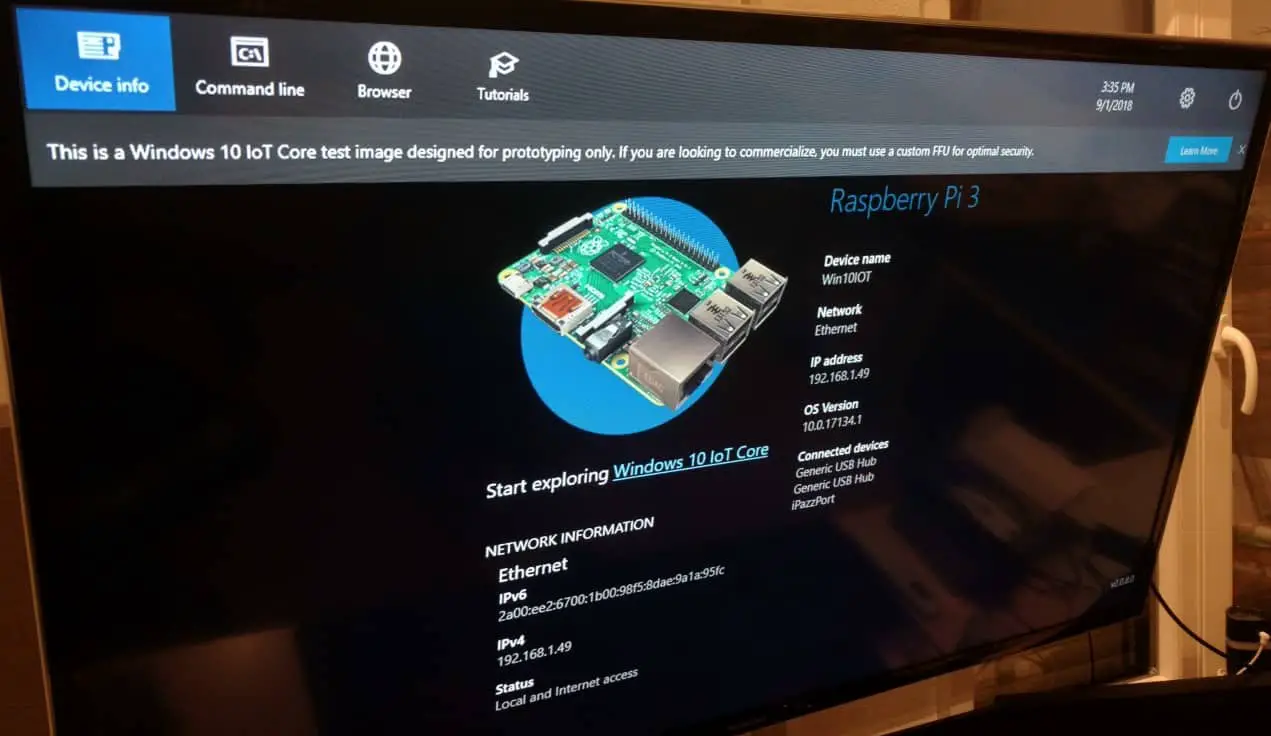
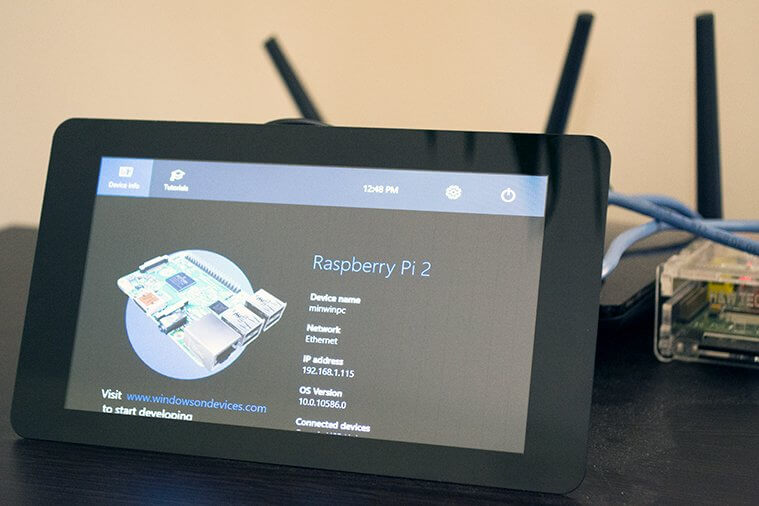
Raspberry Pi Overview
Raspberry Pi is a small, single-board computer developed by the Raspberry Pi Foundation. It is widely used in educational settings, hobbyist projects, and professional applications. The Raspberry Pi's compact size, low power consumption, and versatility make it an ideal choice for IoT projects.
Key Specifications of Raspberry Pi
- Processor: Broadcom BCM2711, Quad-core Cortex-A72 (ARM v8) 64-bit SoC @ 1.5GHz
- Memory: 4GB LPDDR4-3200 SDRAM
- Connectivity: Dual-band 2.4 GHz and 5.0 GHz IEEE 802.11b/g/n/ac wireless, Bluetooth 5.0, BLE
- Ports: 2x micro-HDMI ports, 2x USB 3.0 ports, 2x USB 2.0 ports, Gigabit Ethernet
Setting Up SSH on Raspberry Pi
Setting up SSH on Raspberry Pi is a straightforward process that involves enabling the SSH service and configuring it for remote access. Follow these steps to get started:
Step 1: Enable SSH
To enable SSH on Raspberry Pi, you can either use the Raspberry Pi Configuration tool or modify the configuration file directly.
Step 2: Configure SSH
Once SSH is enabled, you can configure it to suit your needs. This includes setting up user accounts, managing permissions, and configuring firewall settings.
Downloading Raspberry Pi Image on Windows 10
Downloading the Raspberry Pi image on Windows 10 is an essential step in setting up your IoT platform. You can use the official Raspberry Pi Imager tool to download and install the latest operating system images.
Steps to Download Raspberry Pi Image
- Download the Raspberry Pi Imager tool from the official website
- Select the desired operating system image
- Insert an SD card into your Windows 10 computer
- Write the image to the SD card using the Raspberry Pi Imager
Connecting to Raspberry Pi via SSH
Once your Raspberry Pi is set up and SSH is enabled, you can connect to it remotely using an SSH client. On Windows 10, you can use the built-in SSH client or third-party tools like PuTTY.
Steps to Connect via SSH
- Open the Command Prompt or PowerShell on Windows 10
- Use the SSH command followed by the IP address of your Raspberry Pi
- Enter your login credentials when prompted
Remote Management of IoT Devices
With SSH enabled on your Raspberry Pi, you can now manage your IoT devices remotely. This includes monitoring sensor data, controlling actuators, and updating software.
Tools for Remote Management
- Python scripts for data processing
- Web-based dashboards for real-time monitoring
- Automation tools for scheduled tasks
Security Best Practices
Security is a critical consideration when managing IoT devices remotely. Implementing best practices can help protect your devices and data from unauthorized access.
Recommended Security Measures
- Use strong, unique passwords for all user accounts
- Enable two-factor authentication wherever possible
- Regularly update your operating system and software
- Monitor network activity for suspicious behavior
Troubleshooting Common Issues
Despite careful planning and setup, issues can arise when working with remote IoT platforms. Here are some common problems and their solutions:
Issue 1: Unable to Connect via SSH
Ensure that SSH is enabled on your Raspberry Pi and that the correct IP address is being used. Check firewall settings and network configurations for potential blockages.
Issue 2: Slow Data Transfer
Optimize your network settings and ensure that your Raspberry Pi is connected to a stable internet connection. Consider upgrading hardware if necessary.
Conclusion
In conclusion, setting up a remote IoT platform using SSH on Raspberry Pi and downloading it on Windows 10 is a powerful way to manage IoT devices effectively. By following the steps outlined in this guide, you can ensure secure, efficient, and reliable remote management of your IoT projects.
We encourage you to share your experiences and insights in the comments section below. Additionally, feel free to explore other articles on our site for more tips and tricks on IoT and technology. Thank you for reading, and happy tinkering!