In today's interconnected world, remote monitoring has become an essential tool for managing systems, devices, and environments efficiently. Among the many platforms available, Raspberry Pi stands out as a versatile and cost-effective solution for remote monitoring applications. Whether you're a hobbyist, developer, or professional, understanding how to set up and optimize remote monitoring with Raspberry Pi can significantly enhance your projects.
Remote monitoring Raspberry Pi allows users to track and manage various devices and systems from anywhere in the world. From home automation to industrial applications, this technology opens up countless possibilities for innovation and efficiency. As more businesses and individuals embrace IoT (Internet of Things) solutions, the demand for reliable remote monitoring systems continues to grow.
This comprehensive guide will walk you through everything you need to know about remote monitoring with Raspberry Pi. We'll cover setup processes, best practices, troubleshooting tips, and advanced configurations to ensure you get the most out of your Raspberry Pi-based remote monitoring system. Let's dive in!
Read also:Martha Scott Lawyer A Comprehensive Guide To Her Career Expertise And Legacy
Table of Contents
- Introduction to Remote Monitoring with Raspberry Pi
- Raspberry Pi Basics
- Setting Up Remote Monitoring
- Essential Software Tools for Remote Monitoring
- Data Collection Methods
- Securing Your Remote Monitoring System
- Advanced Configurations
- Troubleshooting Common Issues
- Applications of Remote Monitoring
- Future Trends in Remote Monitoring
Introduction to Remote Monitoring with Raspberry Pi
Remote monitoring Raspberry Pi involves using the small, affordable computer to monitor and manage devices or systems from a distance. This technology is particularly useful for IoT applications, where real-time data collection and analysis are crucial. By leveraging Raspberry Pi's capabilities, users can create customized solutions tailored to their specific needs.
The versatility of Raspberry Pi makes it an ideal platform for remote monitoring projects. With its wide range of connectivity options, including Wi-Fi, Bluetooth, and Ethernet, it can easily integrate with various sensors and devices. Additionally, its open-source nature allows for endless customization and innovation.
In this section, we'll explore the basics of remote monitoring and why Raspberry Pi is an excellent choice for such applications. We'll also discuss some of the key benefits of using Raspberry Pi for remote monitoring, including cost-effectiveness, scalability, and ease of use.
Raspberry Pi Basics
Before diving into remote monitoring, it's essential to understand the basics of Raspberry Pi. Developed by the Raspberry Pi Foundation, this single-board computer has become a favorite among developers, hobbyists, and educators worldwide. Its compact size and affordability make it accessible to a wide audience, while its powerful capabilities cater to advanced users.
Raspberry Pi comes in several models, each with varying specifications to suit different needs. Some of the most popular models include the Raspberry Pi 4, Raspberry Pi 3, and Raspberry Pi Zero. Each model offers different levels of performance, connectivity, and expandability, allowing users to choose the one that best fits their project requirements.
In addition to hardware, Raspberry Pi supports a variety of operating systems, including Raspbian, Ubuntu, and other Linux-based distributions. These operating systems provide the foundation for running applications and services necessary for remote monitoring.
Read also:Julia Rose Shag Mag The Ultimate Guide To Her Life Career And Influence
Setting Up Remote Monitoring
Setting up remote monitoring Raspberry Pi requires a few essential steps. First, you'll need to install the appropriate operating system on your Raspberry Pi. Raspbian, the official operating system for Raspberry Pi, is a great starting point for most users. Once installed, you can begin configuring your Raspberry Pi for remote monitoring by enabling necessary services and connecting to your network.
Next, you'll need to set up a method for accessing your Raspberry Pi remotely. This can be done using SSH (Secure Shell) or VNC (Virtual Network Computing), both of which are covered in detail in the following sections. Additionally, you'll need to configure your Raspberry Pi to collect and transmit data from the devices or systems you wish to monitor.
Finally, ensure that your Raspberry Pi is properly secured to prevent unauthorized access. This includes setting strong passwords, enabling firewalls, and keeping your system up to date with the latest security patches.
Essential Software Tools for Remote Monitoring
Several software tools are essential for remote monitoring Raspberry Pi. These tools enable secure and efficient access to your Raspberry Pi, allowing you to manage and monitor your systems from anywhere in the world.
SSH for Remote Access
SSH, or Secure Shell, is a protocol that allows users to securely access and manage remote devices. By enabling SSH on your Raspberry Pi, you can connect to it from another computer using a terminal or command-line interface. This method is particularly useful for performing administrative tasks and monitoring system performance.
To enable SSH on your Raspberry Pi, follow these steps:
- Open the Raspberry Pi Configuration tool.
- Navigate to the "Interfaces" tab.
- Select "Enable" under the SSH section.
- Reboot your Raspberry Pi to apply the changes.
VNC for Remote Control
VNC, or Virtual Network Computing, allows users to remotely control a device's graphical user interface. Unlike SSH, which provides command-line access, VNC enables full control over the remote device, including mouse and keyboard input. This makes it ideal for applications requiring visual interaction, such as monitoring cameras or controlling robotic systems.
To set up VNC on your Raspberry Pi:
- Install the VNC Server software on your Raspberry Pi.
- Configure the VNC Server settings, including resolution and security options.
- Connect to your Raspberry Pi using a VNC client on your computer.
Data Collection Methods
Data collection is a critical component of remote monitoring Raspberry Pi. To effectively monitor your systems, you'll need to collect data from various sources, such as sensors, cameras, and other devices. This data can then be processed and analyzed to provide valuable insights into system performance and behavior.
Some common data collection methods include:
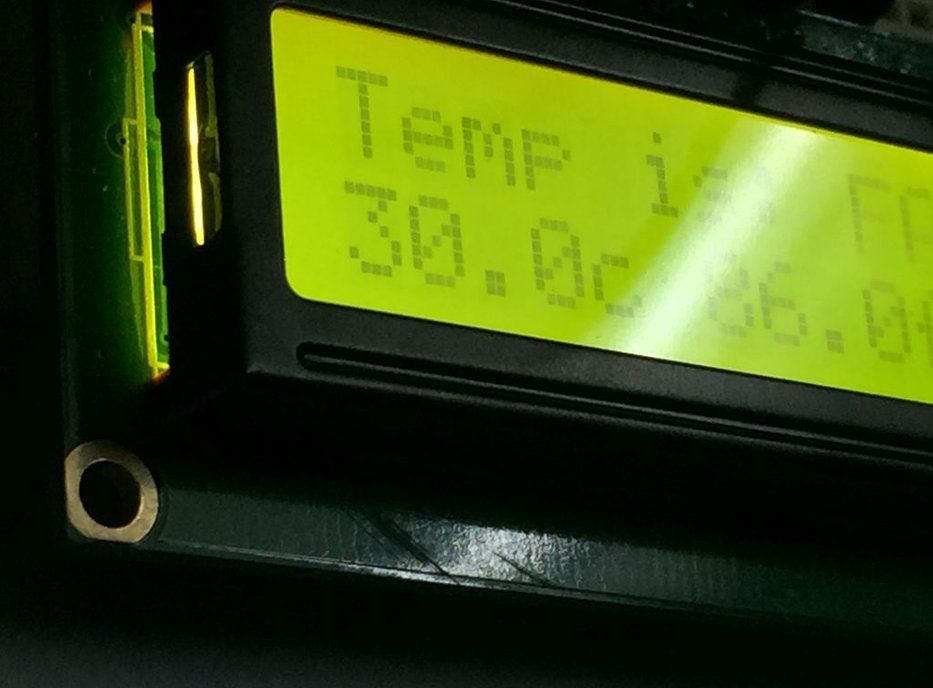
- Sensor Integration: Connect environmental sensors, such as temperature, humidity, and pressure sensors, to your Raspberry Pi to monitor physical conditions.
- Camera Systems: Use cameras to capture visual data, which can be analyzed for security or surveillance purposes.
- Network Monitoring: Monitor network traffic and performance using tools like Wireshark or Nagios.
Ensure that your data collection methods are efficient and reliable, as inaccurate or incomplete data can lead to incorrect conclusions and decisions.
Securing Your Remote Monitoring System
Security is a crucial aspect of remote monitoring Raspberry Pi. With your system accessible from anywhere in the world, it's essential to implement robust security measures to protect against unauthorized access and potential threats.
Some best practices for securing your remote monitoring system include:
- Using strong, unique passwords for all user accounts.
- Enabling two-factor authentication (2FA) for added security.
- Regularly updating your operating system and software to patch vulnerabilities.
- Configuring firewalls to restrict access to only necessary ports and services.
By following these guidelines, you can significantly reduce the risk of security breaches and ensure the integrity of your remote monitoring system.
Advanced Configurations
Once you've mastered the basics of remote monitoring Raspberry Pi, you can explore advanced configurations to enhance your system's capabilities. These configurations can improve performance, scalability, and functionality, making your remote monitoring system even more powerful and versatile.
Cloud Integration
Integrating your Raspberry Pi with cloud services can provide numerous benefits, including increased storage capacity, enhanced data processing capabilities, and improved accessibility. Popular cloud platforms like Google Cloud, AWS, and Microsoft Azure offer a wide range of services that can be leveraged for remote monitoring applications.
To integrate your Raspberry Pi with the cloud, follow these steps:
- Create an account with your preferred cloud provider.
- Set up a virtual machine or container to host your remote monitoring application.
- Connect your Raspberry Pi to the cloud using APIs or SDKs provided by the cloud platform.
Automating Tasks
Automating repetitive tasks can save time and reduce the risk of human error. By leveraging tools like cron jobs and shell scripts, you can automate various aspects of your remote monitoring system, such as data collection, analysis, and reporting.
For example, you can set up a cron job to automatically back up your data at regular intervals or use a shell script to send email alerts when specific conditions are met. These automations can significantly enhance the efficiency and reliability of your remote monitoring system.
Troubleshooting Common Issues
Even the most well-designed remote monitoring systems can encounter issues from time to time. Understanding common problems and how to resolve them can help you maintain a smooth and reliable system.
Some common issues and their solutions include:
- Connection Problems: Ensure that your Raspberry Pi is properly connected to the network and that all necessary services, such as SSH and VNC, are enabled.
- Data Collection Errors: Verify that your sensors and devices are correctly connected and configured. Check for any software or firmware updates that may resolve compatibility issues.
- Security Breaches: Regularly monitor your system for suspicious activity and update your security measures as needed.
By staying proactive and addressing issues promptly, you can minimize downtime and ensure the continued functionality of your remote monitoring system.
Applications of Remote Monitoring
Remote monitoring Raspberry Pi has a wide range of applications across various industries. From home automation to industrial IoT, the possibilities are virtually endless. Some common applications include:
- Smart Homes: Monitor and control lighting, heating, and security systems remotely.
- Industrial Automation: Track production line performance and equipment health in real time.
- Agriculture: Monitor soil conditions, weather patterns, and crop health to optimize farming practices.
These applications demonstrate the versatility and potential of remote monitoring Raspberry Pi, making it an invaluable tool for innovation and efficiency.
Future Trends in Remote Monitoring
As technology continues to evolve, so too will the field of remote monitoring. Emerging trends such as artificial intelligence, machine learning, and edge computing are poised to revolutionize the way we monitor and manage systems.
For example, AI-powered analytics can provide deeper insights into system behavior, enabling predictive maintenance and optimized performance. Edge computing allows for faster data processing by performing computations closer to the source, reducing latency and improving responsiveness.
By staying informed about these trends and incorporating them into your remote monitoring projects, you can ensure that your systems remain cutting-edge and effective.
Conclusion
Remote monitoring Raspberry Pi offers a powerful and flexible solution for managing systems and devices from anywhere in the world. By following the guidelines and best practices outlined in this guide, you can create a robust and secure remote monitoring system tailored to your specific needs.
We encourage you to share your experiences and insights in the comments below. Your feedback helps us improve and refine our content for the benefit of the entire community. Additionally, don't forget to explore other articles on our site for more tips and tricks on maximizing the potential of your Raspberry Pi projects.