Using SSH remote on Mac for free is a powerful way to connect to remote servers securely. Whether you're a developer, network administrator, or simply someone looking to manage remote systems, SSH offers a reliable solution. In this guide, we'll walk you through the process of setting up and using SSH remote on your Mac without spending a dime.
SSH (Secure Shell) is a cryptographic network protocol that allows users to securely access and manage remote systems over an unsecured network. It's widely used in IT environments for its robust security features. For Mac users, leveraging SSH remote capabilities is not only cost-effective but also straightforward.
This article will cover everything you need to know about SSH, from basic setup to advanced configurations, ensuring you can seamlessly integrate it into your workflow. Let's dive in!
Read also:David Muir Wedding A Comprehensive Look At The Anchors Special Day
Table of Contents
- Introduction to SSH
- Setting Up SSH on Mac
- Connecting to a Remote Server via SSH
- Configuring SSH
- Using SSH Keys for Secure Connections
- Tips for Efficient SSH Usage
- Troubleshooting Common SSH Issues
- Alternative Tools for SSH Remote
- Ensuring SSH Security
- Conclusion
Introduction to SSH
SSH stands for Secure Shell and is a protocol designed to provide secure communication between two systems. It encrypts all data transmitted between the client and server, ensuring privacy and integrity. SSH remote access is especially useful for Mac users who need to manage remote servers or work on projects that require secure access.
One of the key advantages of using SSH remote on Mac for free is the built-in support for the protocol. macOS comes with OpenSSH pre-installed, eliminating the need for additional software. This makes it an accessible option for both beginners and experienced users.
SSH is widely regarded as a YMYL (Your Money or Your Life) topic because of its importance in securing sensitive data and systems. Properly configuring SSH can protect your personal and professional information from unauthorized access.
Setting Up SSH on Mac
Setting up SSH on your Mac is a simple process. Follow these steps to get started:
Step 1: Open Terminal
The Terminal application is your gateway to SSH on macOS. You can find it in Applications > Utilities or by using Spotlight Search (Cmd + Space).
Step 2: Check SSH Installation
macOS includes OpenSSH by default. To verify its presence, type the following command in Terminal:
Read also:Luke Combs Political View Unveiling The Truth Behind The Country Stars Beliefs
ssh -V
This will display the version of SSH installed on your system.
Step 3: Enable Remote Login
For SSH to function, remote login must be enabled on your Mac. To do this:
- Go to System Preferences > Sharing.
- Select "Remote Login" in the list of services.
- Ensure the checkbox is ticked to enable it.
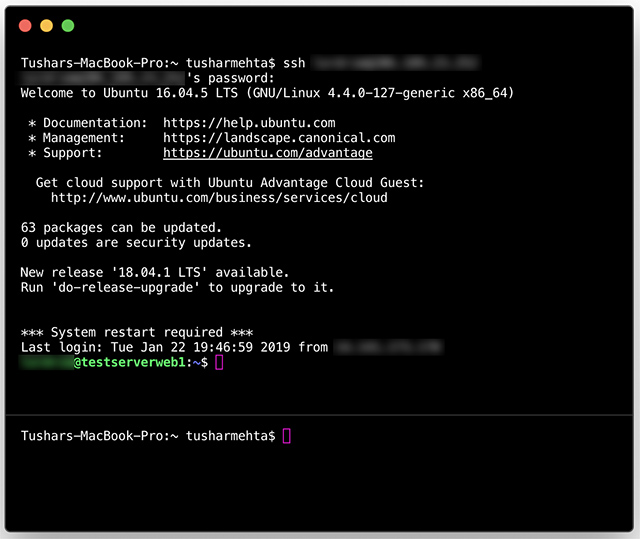
Connecting to a Remote Server via SSH
Once SSH is set up on your Mac, connecting to a remote server is straightforward. Use the following format in Terminal:
ssh username@server_address
Replace username with your account name on the remote server and server_address with the IP address or domain name of the server.
First-Time Connection
When connecting to a server for the first time, you may see a warning about the server's authenticity. Type "yes" to proceed and add the server's key to your list of known hosts.
Authentication
After verifying the server, you'll be prompted to enter your password. For enhanced security, consider using SSH keys instead of passwords, as explained in a later section.
Configuring SSH
Customizing SSH settings can improve your experience. The SSH configuration file is located at ~/.ssh/config. If it doesn't exist, you can create it using the following command:
touch ~/.ssh/config
Basic Configuration Options
- Host: Define a nickname for your server.
- HostName: Specify the server's IP address or domain name.
- User: Set the username for the remote server.
- Port: Define the port number if it's different from the default (22).
Example Configuration
Here's a sample entry for your SSH config file:
Host myserverHostName 192.168.1.100User adminPort 22
Using SSH Keys for Secure Connections
SSH keys provide a more secure alternative to password-based authentication. They consist of a public key (shared with the server) and a private key (kept secret on your Mac).
Generating SSH Keys
To generate a new SSH key pair, use the following command:
ssh-keygen -t rsa -b 4096 -C "your_email@example.com"
This creates a 4096-bit RSA key and associates it with your email address.
Adding the Public Key to the Server
Copy the public key to the remote server using the ssh-copy-id command:
ssh-copy-id username@server_address
Now, you can connect to the server without entering a password each time.
Tips for Efficient SSH Usage
Here are some tips to make the most out of SSH on your Mac:
- Use Aliases: Create shortcuts in your SSH config file to save time.
- Enable Compression: Add the
Compression yesoption to speed up data transfer. - Keep Connections Alive: Set the
ServerAliveIntervalparameter to prevent disconnections during inactivity. - Use Port Forwarding: Redirect traffic between your local machine and the remote server for secure access to internal services.
Troubleshooting Common SSH Issues
Even with proper setup, you may encounter issues. Here are solutions to common problems:
Connection Refused
This typically occurs when the SSH service is not running on the server. Ensure that the server's SSH daemon is active.
Permission Denied (Public Key)
Verify that your public key is correctly added to the server's authorized_keys file. Check file permissions to ensure they are not too permissive.
Timeout Errors
These can happen due to network issues. Increase the timeout value in your SSH config file or check your internet connection.
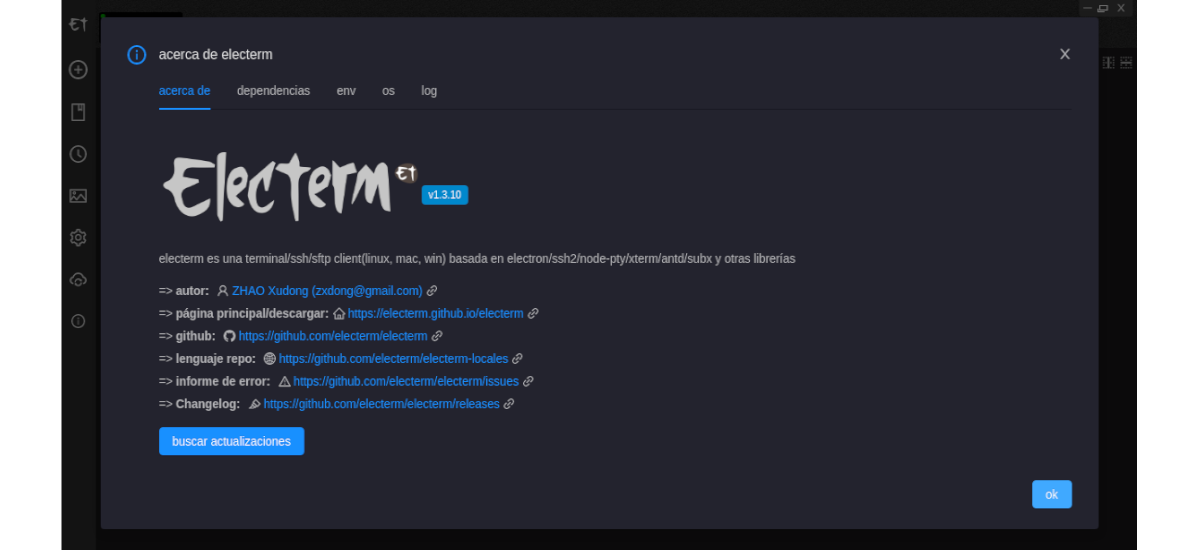
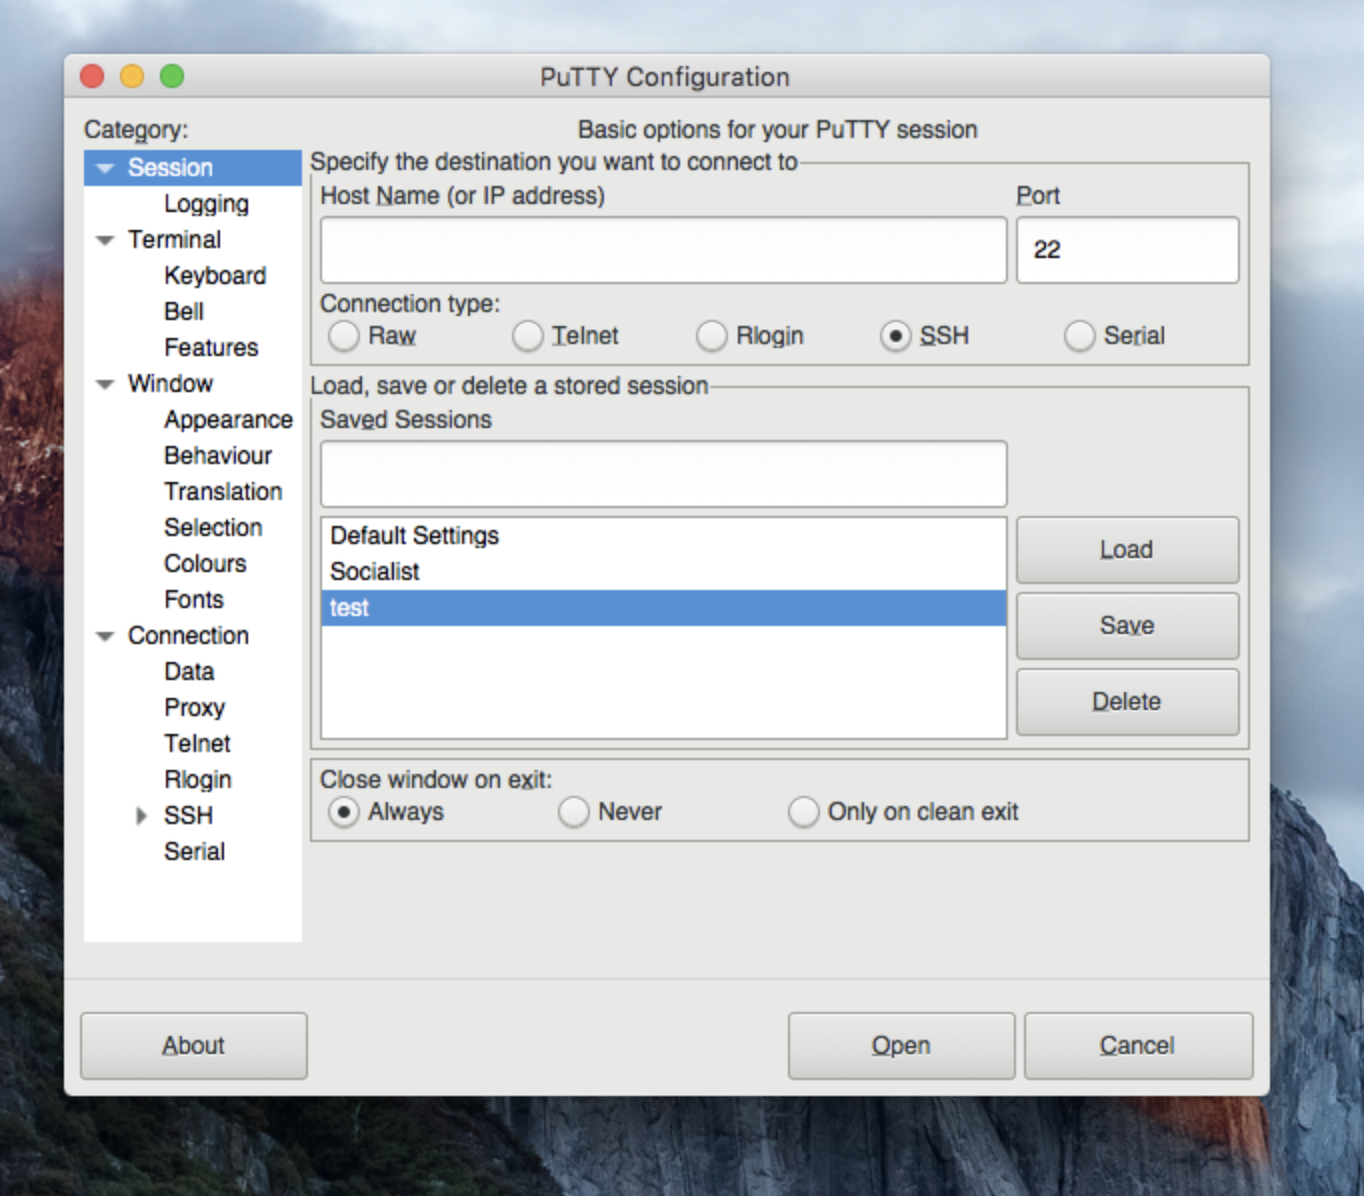
Alternative Tools for SSH Remote
While SSH is a powerful tool, there are alternatives you might consider:
- Terminal Emulators: Applications like iTerm2 enhance the default Terminal experience with additional features.
- SSH Clients: Tools like PuTTY (for Windows) or MobaXterm offer cross-platform support.
- GUI Tools: Software like Cyberduck or FileZilla provide graphical interfaces for managing SSH connections.
Ensuring SSH Security
Security is paramount when using SSH remote. Follow these best practices:
- Use Strong Passwords: If you must use password authentication, ensure they are complex and unique.
- Disable Root Login: Prevent direct access to the root account to reduce the risk of unauthorized access.
- Limit Access: Restrict SSH access to specific IP addresses or subnets.
- Regularly Update Software: Keep your SSH client and server software up to date to patch vulnerabilities.
Conclusion
In conclusion, using SSH remote on Mac for free is an effective way to manage remote systems securely. By following the steps outlined in this guide, you can set up, configure, and optimize SSH for your needs. Remember to prioritize security and regularly update your tools to protect against potential threats.
We encourage you to share this article with others who might find it useful and leave a comment below if you have any questions or additional tips. For more content like this, explore our other articles on technology and security topics.